Separate walking equipment from travel equipment
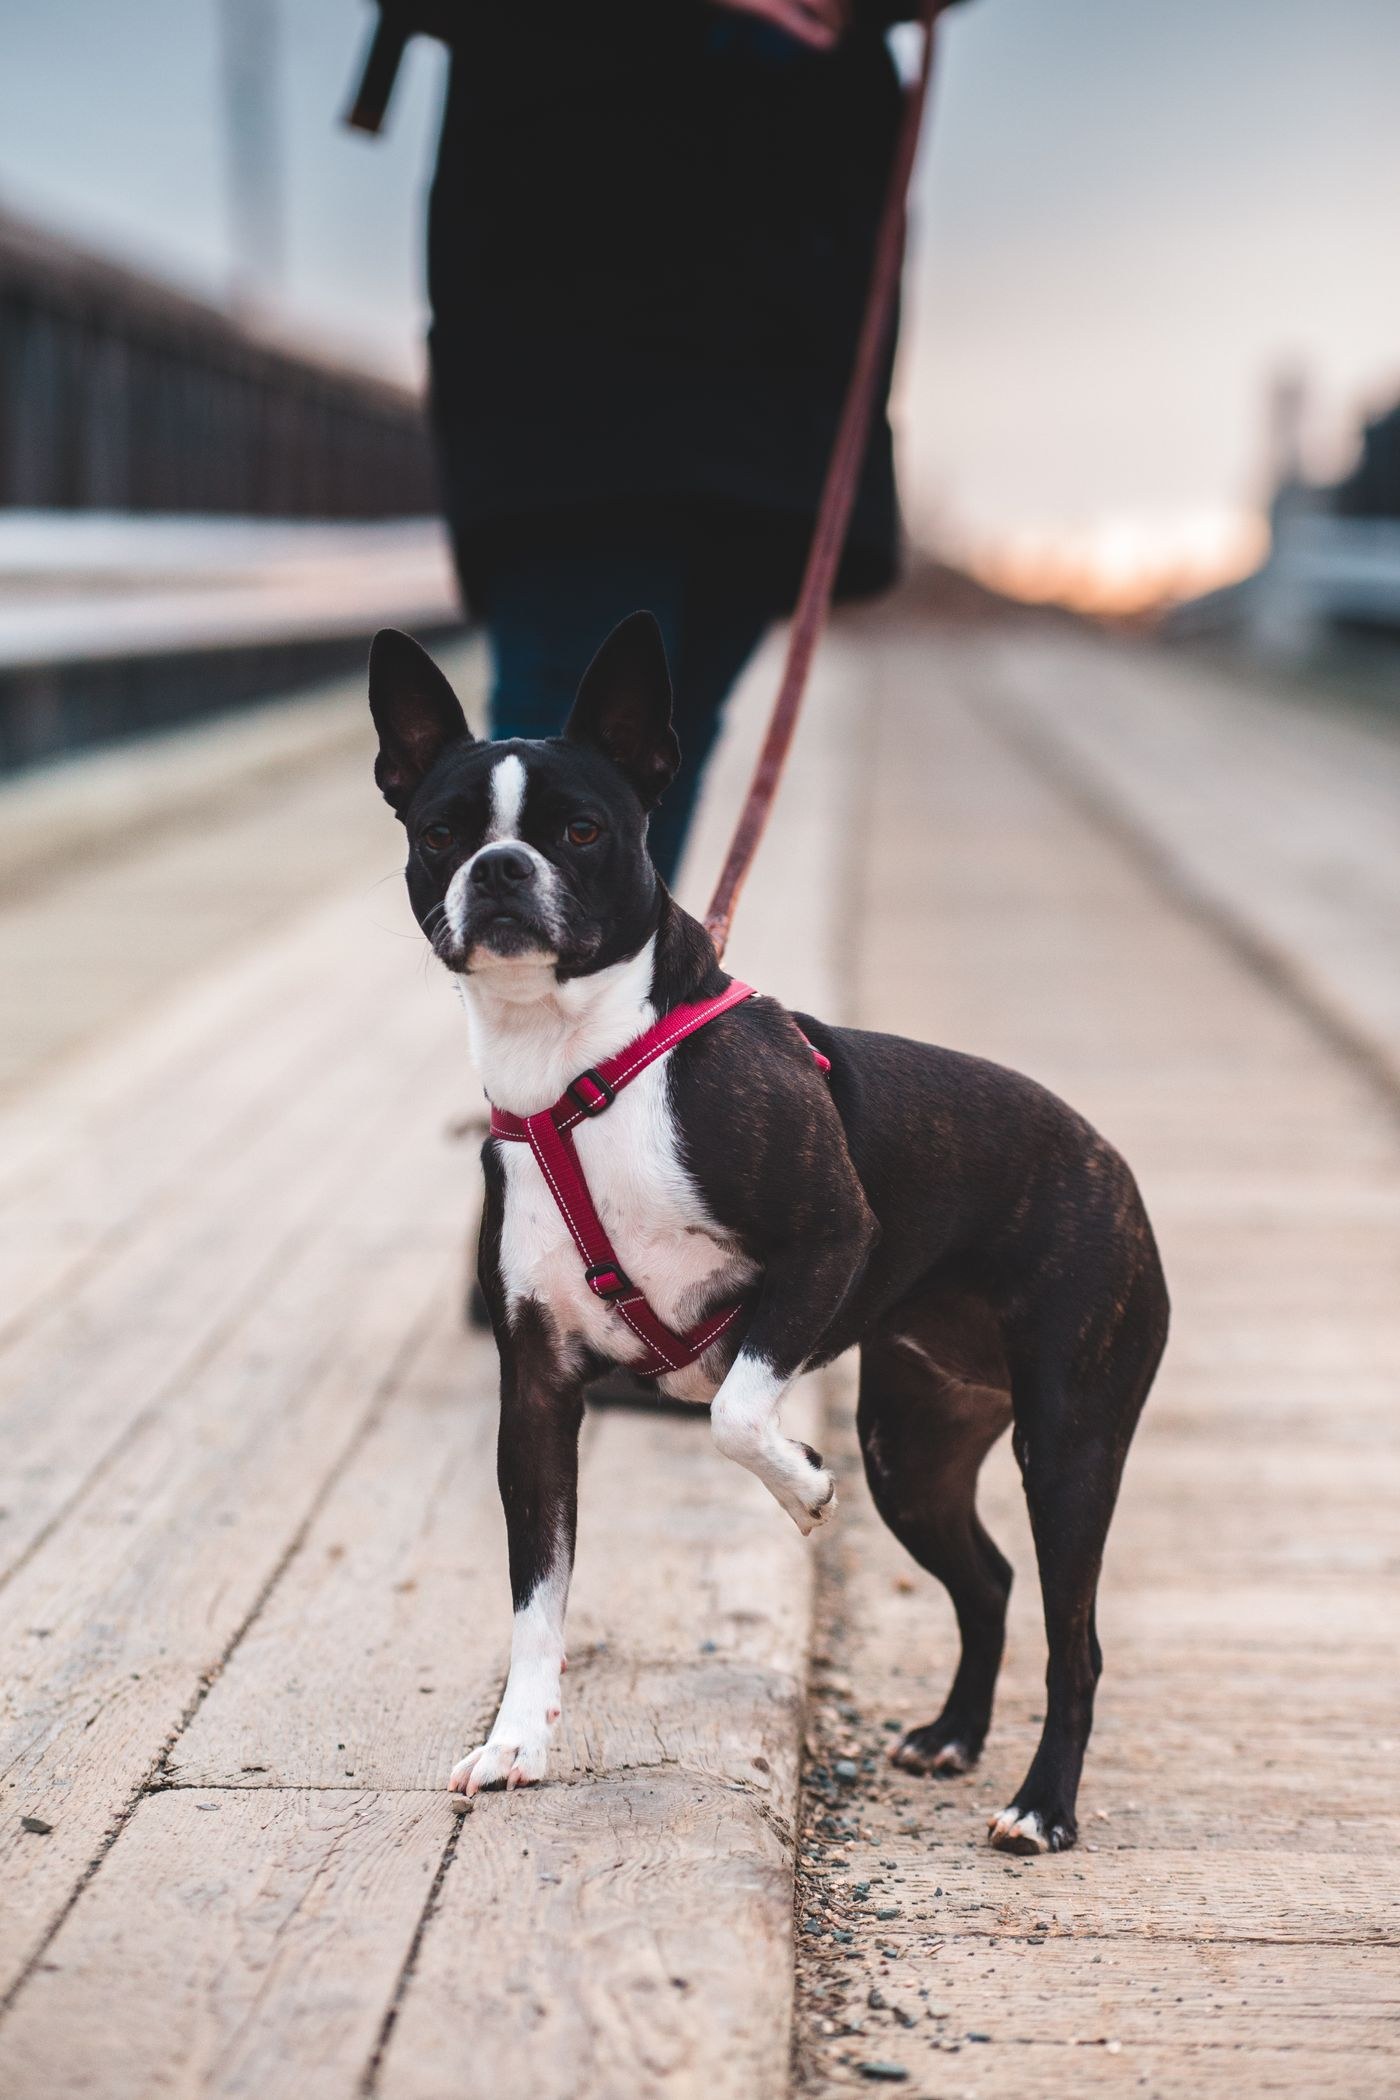
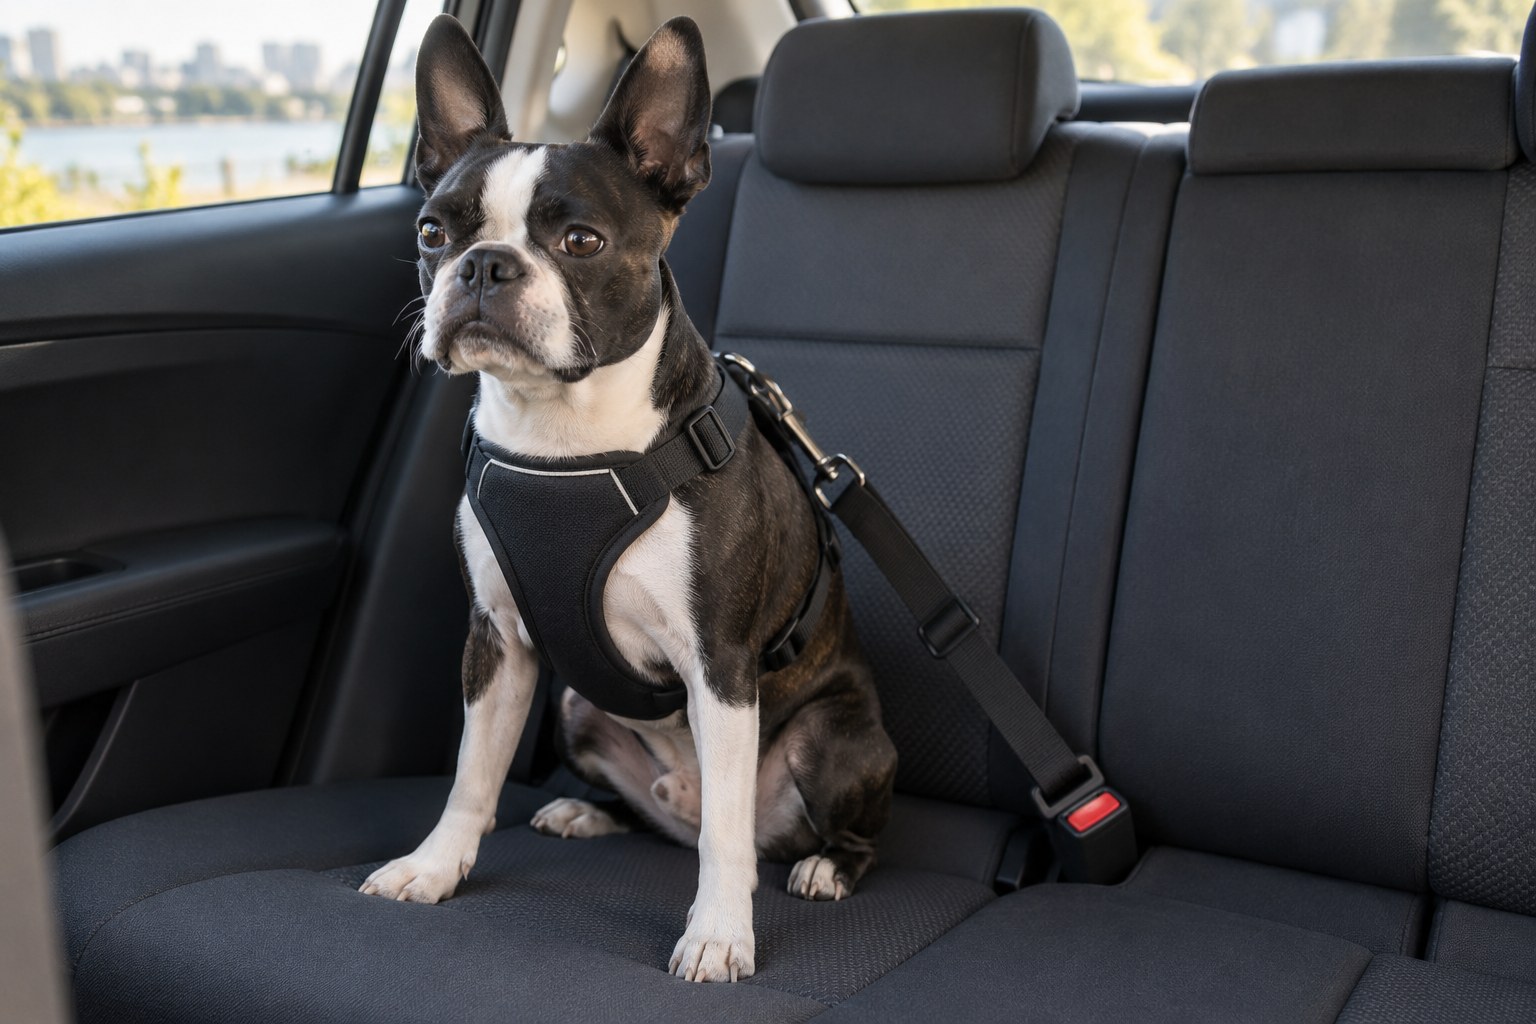
A harness used on a walk is not automatically intended to restrain a dog in a vehicle. Read the stated use before comparing colour, padding or matching leads. Look for the exact product name, size range, installation method and any vehicle compatibility limitations. A photograph of a dog on a seat is insufficient evidence of how the product is meant to be secured.
If crash-testing or certification is claimed, find the organisation's own record and match the model and size rather than the brand name alone. The Center for Pet Safety maintains a current certified-product list; its certification programme is voluntary. A generic phrase such as 'tested for travel' leaves unanswered what was tested, how it was attached and which result is being claimed. Ask for those details before relying on the phrase.
Read the installation before ordering
Obtain the full manual while you can still compare options. Identify which part of the vehicle belt or anchor is used, where the restraint sits and whether any included pieces must be fitted in a particular order. Compare the drawings with your vehicle. Seat shape, belt access, nearby child seats and the amount of clear space can all affect whether you can follow the procedure as written.
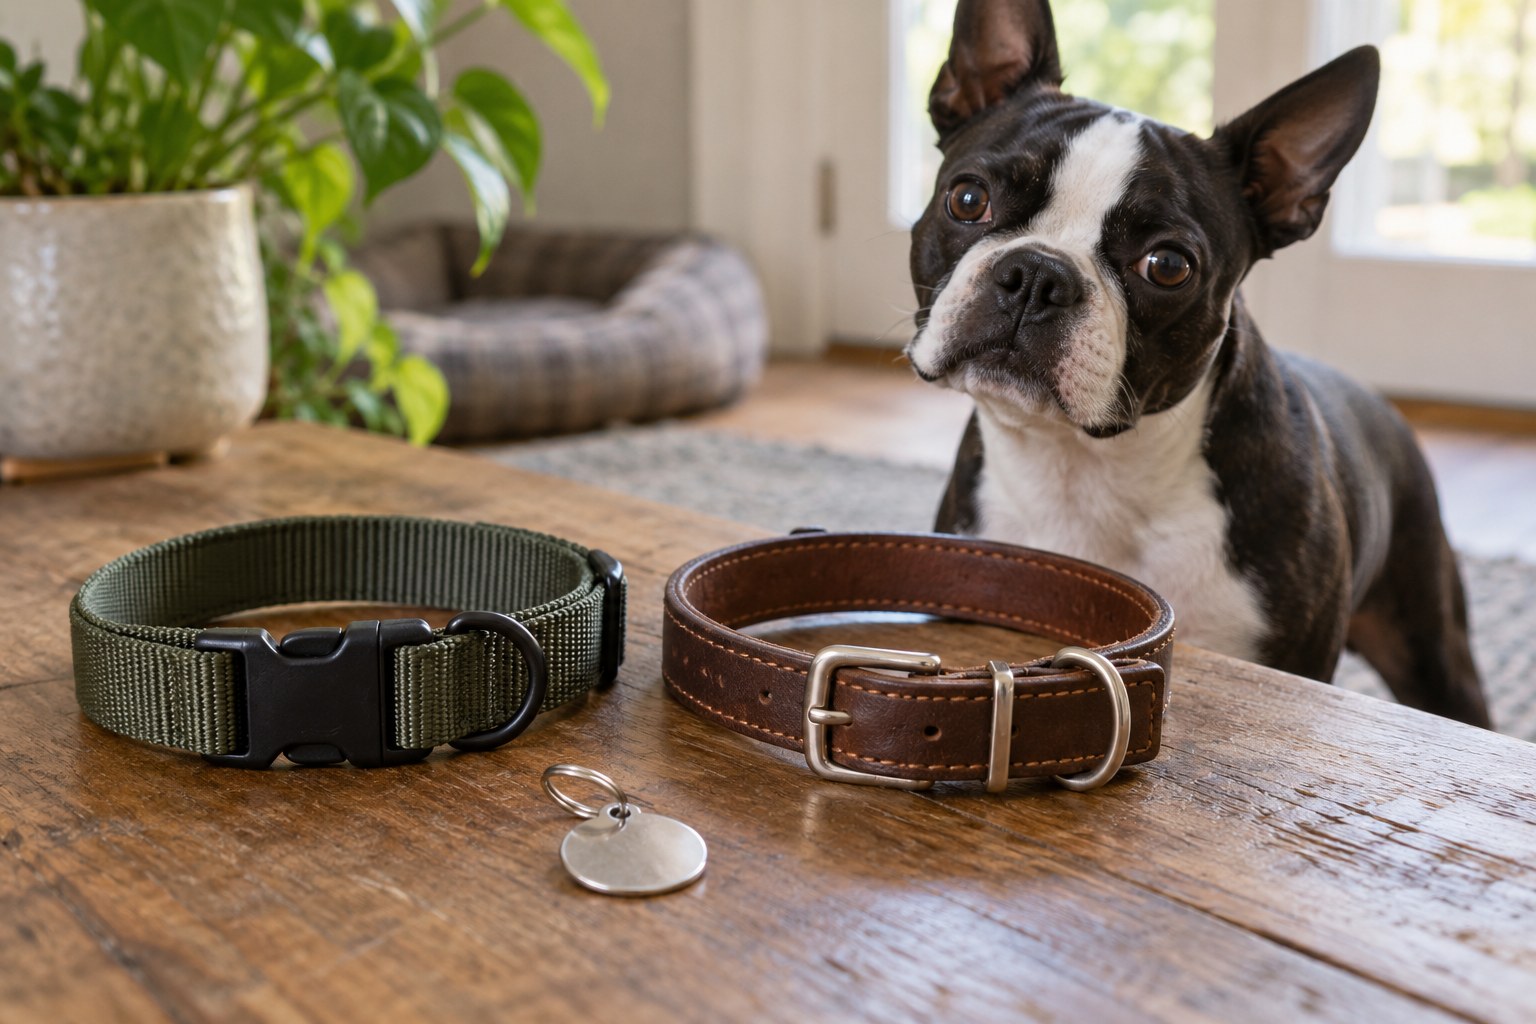
Avoid substituting a different tether, extension, carabiner or collar connection to make an awkward installation work. The manufacturer's specified arrangement is the starting point for evaluating the product. If it cannot be reproduced in your vehicle, ask the maker for a supported alternative or compare another design. Keep loose accessories out of the restraint path so they do not hide the attachment or make it difficult to inspect.
Check fit without planning a journey
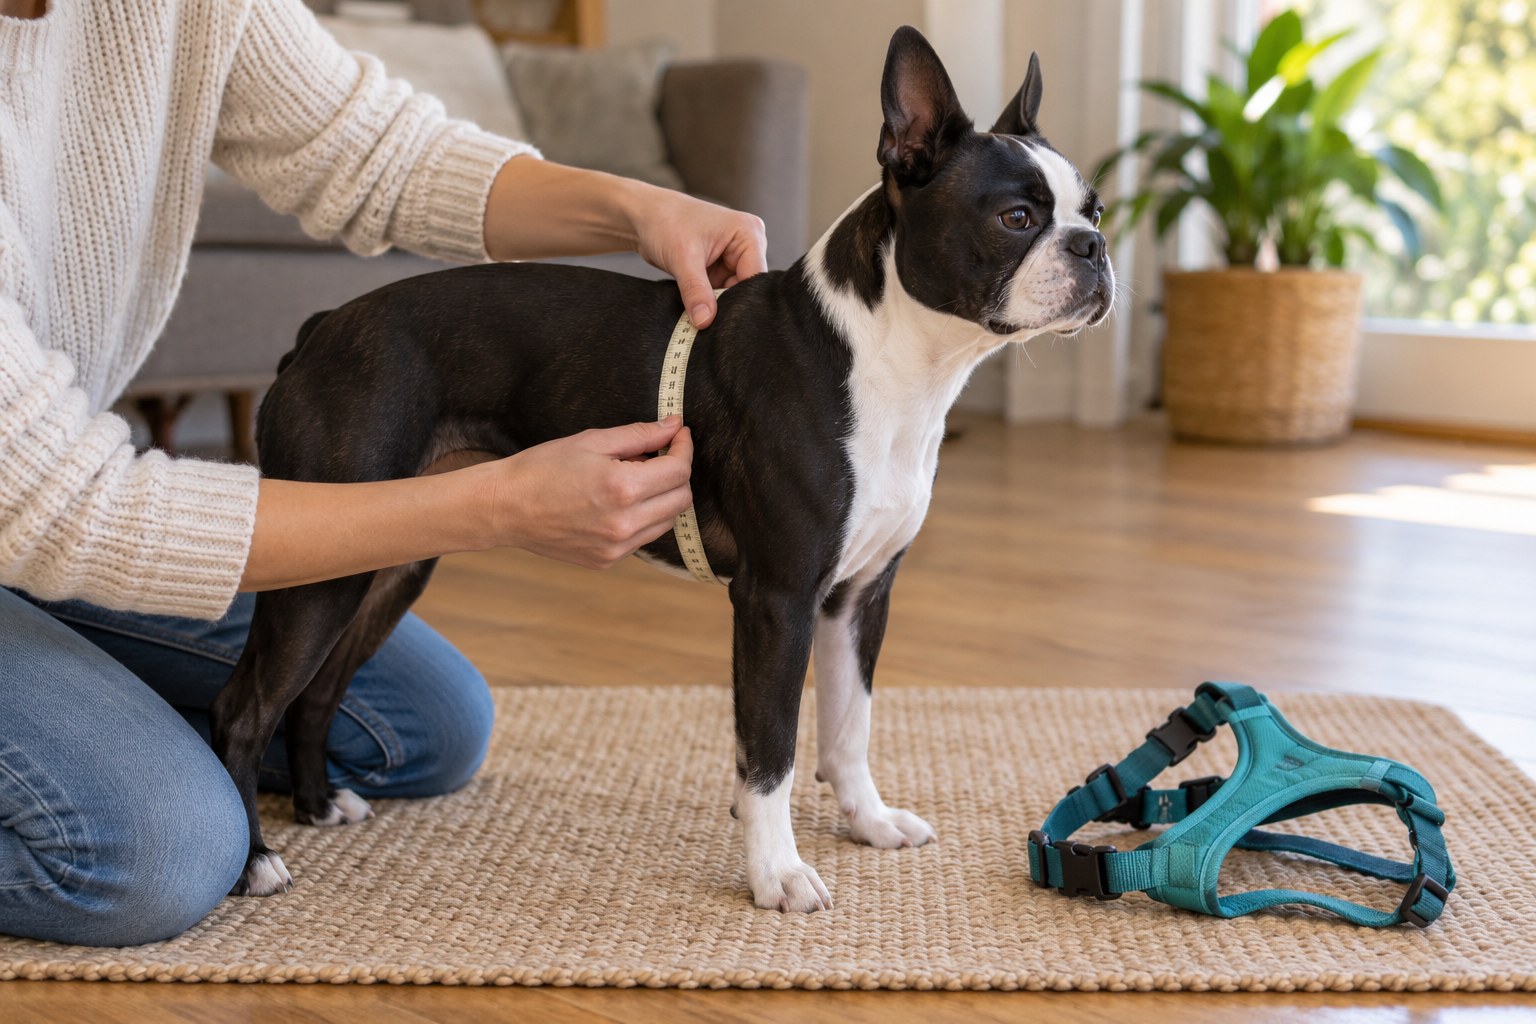
Measure your Boston using the product's instructions and compare every required measurement. Once the item arrives, practise fitting it with the car parked and the engine off in a suitable place. Have the manual beside you, not just a remembered demonstration video. Confirm that straps lie as shown and that adjusters retain the chosen setting. Do not use improvised padding to fill a size mismatch.
Notice whether the dog can assume the positions the maker permits without the equipment twisting or pressing awkwardly. If the dog cannot settle, pause and examine fit and familiarity separately. Short, calm introductions in the parked vehicle can help you identify a handling problem before the distraction of travel. Do not interpret quietness alone as proof that the restraint fits or provides a particular level of protection.
Make the setup repeatable
Write down the seat location, product size and essential installation steps for another household member. Keep a clear photograph of the correctly assembled arrangement alongside the manual, while remembering that a photograph cannot replace the written procedure. Before each trip, check the parts you touch when fastening and the webbing or structure that may be hidden underneath the dog.
After travel, inspect for chewing, frayed material, distorted hardware and changes in adjustment. Follow the maker's instructions on cleaning, replacement after an incident and service life. A restraint kept permanently in a car still needs checks; familiar positioning can make damage easier to overlook. Revisit fit if the dog's measurements change, and repeat the vehicle compatibility review when moving the product to a different car.
Plan arrival as carefully as departure. Have the walking harness or lead arrangement ready before opening the door, and understand how to transfer the dog without leaving an unsecured interval. Practise the sequence while stationary. The most useful restraint is one you can fit and check consistently on an ordinary journey.